If you're installing Carlson Software on Microsoft® Windows NT® 4.0 or Windows 2000, you must have permission to write to the necessary system registry sections. To do this, make sure that you have administrative permissions on the computer on which you're installing. Before you install Carlson Software, close all running applications. Make sure you disable any virus-checking software. Please refer to your virus software documentation for instructions.
Note: If you are upgrading from an older version of Carlson Software, you must uninstall the older version before installing Carlson Software. This is required for successful software installation and to meet the guidelines of the EULA (End User License Agreement).
1 Insert the CD into the CD-ROM drive.
If Autorun is enabled, it begins the setup process when you insert the CD.
To stop Autorun from starting the installation process automatically, hold down the SHIFT key when you insert the CD.
To start the installation process without using Autorun, from the Start menu (Windows), choose Run. Enter the CD-ROM drive letter, and setup. For example, enter d:\setup.
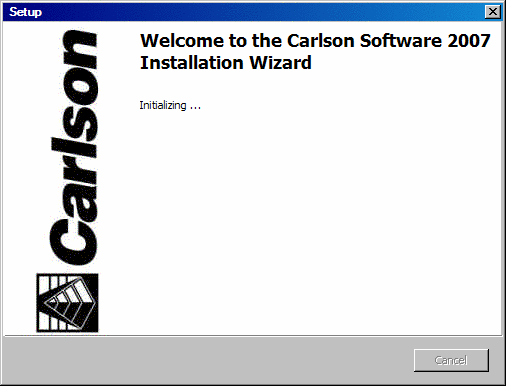
2 The Windows
Installer dialog box
is displayed briefly, followed by a dialog box for entering in your
serial number.
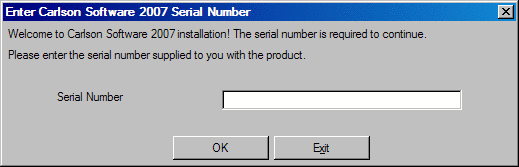
In the Enter Carlson
Software 2007 Serial
Number dialog
box, you must enter the serial number provided with your copy of
Carlson Software. Then click OK.
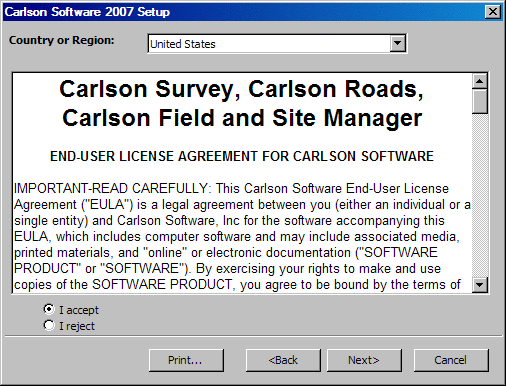
3 The Setup dialog box appears briefly, followed automatically by the Carlson Software 2007 Setup dialog. If this is the initial installation, you will see the dialogs shown below.
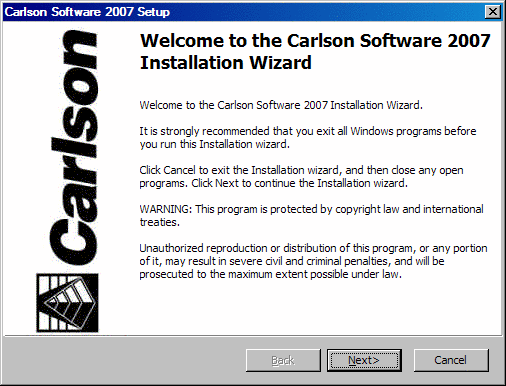
4 Review the
End-user License Agreement, accept it with the correct click choice,
and then click Next. You can optionally print it out.
5 On the Select Installation Type dialog box, select the type of installation you want: Typical or Custom. Choose Next.
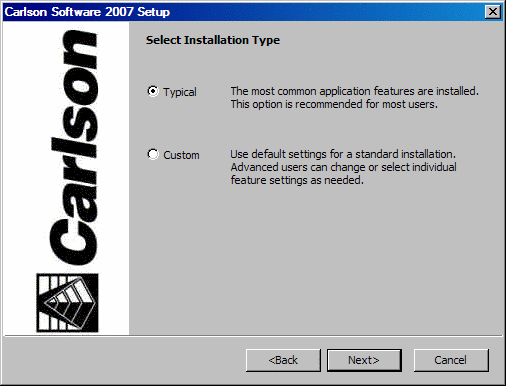
Typical installs the following features:
● Program files: Executables, menus, toolbars, Help templates, TrueType® fonts, and additional support files
● Internet tools: Support files
● Fonts: SHX fonts
● Samples: Sample drawings
● Help files: Online documentation
Custom installs only the files you select. By default, the Custom installation option installs all Carlson Software features. To install only the features you want, choose a feature, and then select one of the following options from the list:
● Will be installed on local hard drive: Installs a feature or component of a feature on your hard drive.
● Entire feature will be installed on local hard drive: Installs a feature and its components on your hard drive.
● Feature will be installed when required only: Installs a feature on demand.
● Entire feature will be unavailable: Makes the feature unavailable.
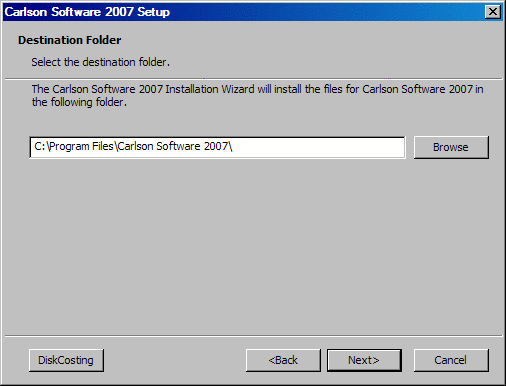
Choose Browse to specify a different drive and folder where you want Carlson Software to be installed. Choose any directory that is mapped to your computer (including network directories), or enter a new path. Choose OK and then Next.
Setup installs some files required by Carlson Software in your system folder (for example, c:\Windows\System, or c:\Winnt\System32). This folder may be on a different drive than the folder you specify as the installation folder (for example, d:\Program Files\Carlson Software). You may need up to 60 MB of space in your system folder, depending on the components you select to install. Setup alerts you if there is insufficient free space on the drive that contains your system folder.
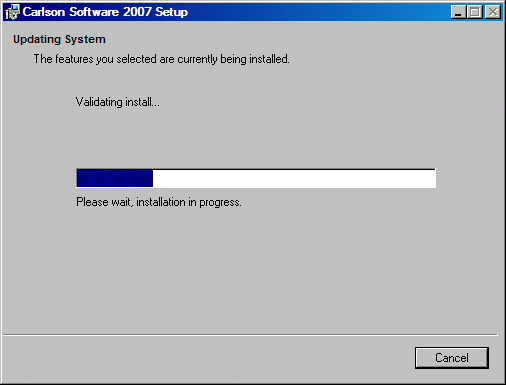
On the Start Installation page, choose Next to start the installation.
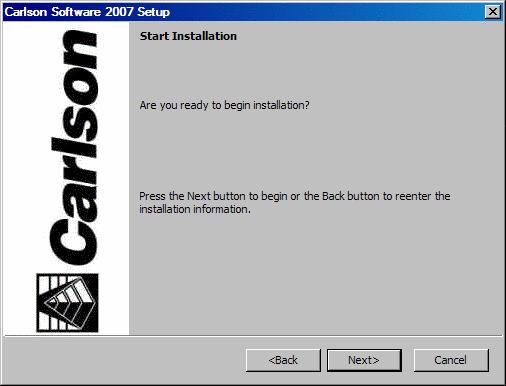
The Updating System dialog box is displayed while Carlson Software is installed.
When the installation is complete, the Setup Complete dialog box is displayed. Choose Finish to exit the installation program.
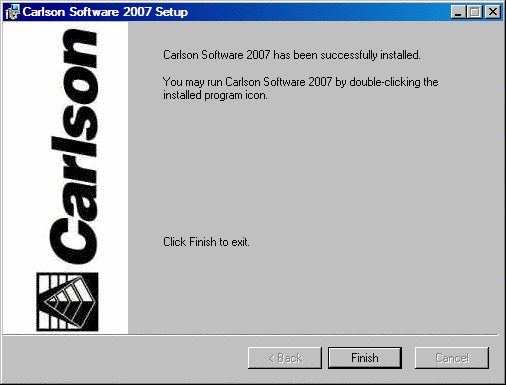
It
is strongly
recommended that
you restart your computer at this point in order for the new
configuration
settings to take effect.
Congratulations! You have successfully installed Carlson Software. You are now ready to register your product and start using the program. To register the product, double-click the Carlson Software icon on your desktop and follow the instructions.