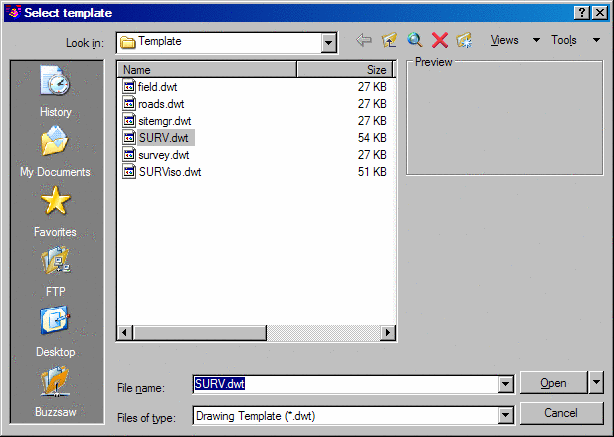
For creating a new drawing in Carlson Software, the Startup Wizard can guide you through starting and setting up the drawing. This wizard is optional, and it can be turned on or off in the Settings menu by clicking Configure, then General Settings. You can also exit out of the Startup Wizard at any time. When the Startup Wizard is turned on and the New drawing command is executed, you will see the Select template dialog box.
Typically, you want to choose the drawing
template SURVEY.DWT when you are using Carlson Survey, and
then click Open. Rember that for Carlson Roads you will use ROADS.DWT.
For Carlson Field you will use ROADS.DWT. The
drawing template will set some of the basic drawing parameters,
such as
the default
layer names. The Startup Drawing Wizard dialog appears.
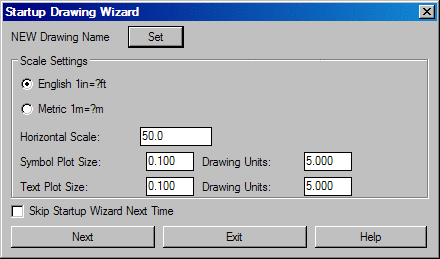
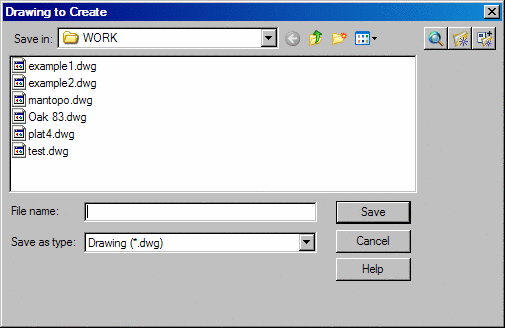
Here, you need to set the new drawing name and scale. Set the drawing (.dwg) name by picking the Set button. The Drawing to Create dialog box opens. Change to the directory/folder ("Save in" field) where you want to store the drawing. You can either select an existing folder or create a new folder. Type in the drawing name in the File name field and click the Save button.
Then you can set the drawing
horizontal scale, symbol size, text size and unit mode (English or
Metric). Clicking the Next button brings up the Startup Wizard
Data Files dialog box. This is for setting the Data Path and CRD
File. The Set button for the Data
Path is for setting the folder where Carlson Software will store the
data files, such as raw (.RW5) files and profile
(.PRO) files. The Set button for the Data Path allows you to select an
existing
folder or create a new folder. See the Set Data Directory command for
more
information.
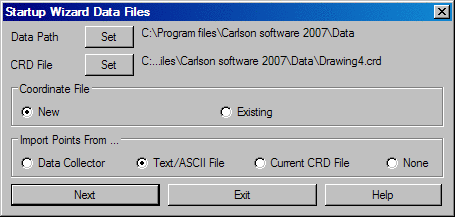
The Coordinate (.CRD) File is the coordinate file for
storing the
point data. There is an option to create a new or existing coordinate
file. The New option will erase any point data that is found in the
specified
CRD file. The Existing option will retain any point data in the
specified
coordinate (.CRD) file. If the specified coordinate (.CRD) file does
not exist,
the wizard will create a new file.
The next wizard step depends on the Import Points option. The Data Collector option will start the data collection routines to download data from a collector. The Text/ASCII option will import point data from a text/ASCII file. See the Data Collection and Import Text/ASCII File commands for more information on running these routines. If the None option is set, then the Startup Wizard is finished.
Once point data has been imported from the data collector or text/ASCII file, the wizard guides you through drawing the points. There are options to run Draw/Locate Points, Field To Finish or None. If None is selected, then the Startup Wizard is finished. Draw/Locate Points will import the points into the drawing using the same symbol and layer for all the points. From the Draw/Locate Points dialog, set the symbol, layer and point attributes to draw (description, elevation) and then pick the Draw All button. The Field To Finish command will import the points into the drawing using different layers and symbols depending on the point descriptions that refer to the code table defined in Field to Finish. Also Field to Finish can draw linework. See the Draw/Locate Point and Field To Finish commands for more information on running these routines. After drawing the points, the wizard will zoom the display around the points. Then the wizard is finished.